Understanding Bathroom Fan Replacement
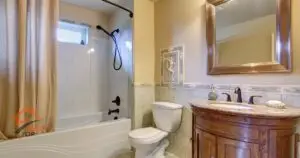
Replacing a bathroom fan involves removing the old fan and installing a new one to improve ventilation. It can be a manageable DIY task if you have the right tools and follow safety precautions.
Common Reasons for Replacing a Bathroom Fan
- Noise Issues: Older fans can become noisy over time, indicating the need for replacement.
- Poor Ventilation: A malfunctioning fan may not adequately remove moisture, leading to mold and mildew.
- Energy Efficiency: Newer models are more energy-efficient and quieter than older fans.
- Upgrading Aesthetics: Modern fans can provide a sleek, updated look to your bathroom.
Steps to Replace a Bathroom Fan
1. Evaluating the Current Fan
Before purchasing a new fan, assess the condition of your existing one to determine what size and type of fan you need.
- Check the Exhaust Duct: Ensure the duct system is in good condition and suitable for the new fan.
- Measure the Space: Measure the size of the current fan housing to ensure the new fan fits properly.
2. Gathering Tools and Materials
Once you’ve selected the new fan, gather the necessary tools and materials for the replacement.
- Safety Gear: Gloves, safety glasses, and a dust mask.
- Tools: Screwdriver, wire cutter/stripper, and a drill.
- Materials: New fan, mounting hardware, wire connectors, and duct tape.
3. Replacing the Fan
Follow these steps to safely and efficiently replace the bathroom fan.
Removing the Old Fan
- Turn Off Power: Ensure the electricity to the bathroom is turned off at the breaker.
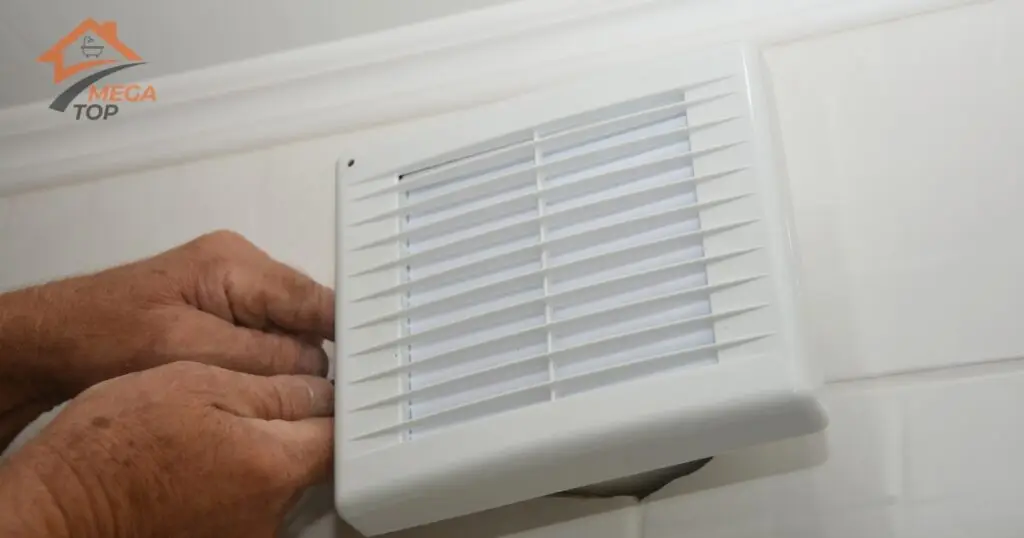
- Remove the Grille: Unscrew and remove the grille covering the old fan.
- Disconnect Wiring: Carefully disconnect the electrical wiring from the fan.
- Remove the Fan Housing: Unscrew the fan housing from the ceiling and remove it from the ductwork.
Installing the New Fan
- Prepare the New Fan: Assemble the new fan according to the manufacturer’s instructions.
- Connect the Wiring: Attach the wiring from the ceiling to the new fan using wire connectors.
- Secure the Fan: Mount the new fan in the ceiling, ensuring it connects properly to the ductwork.
- Test the Fan: Turn the power back on and test the fan to ensure it works correctly.
Preventative Maintenance Tips for Your Bathroom Fan
Proper maintenance can extend the life of your new bathroom fan and improve its performance.
Regular Cleaning
- Clean the Grille: Dust and clean the fan grille every few months to maintain airflow.
- Check for Blockages: Ensure the exhaust duct is free from blockages that could reduce performance.
Professional Inspections
- Annual Inspection: Have a professional inspect the fan and ventilation system once a year to ensure everything is working properly.
- Upgrade When Necessary: Replace your fan every 8-10 years to ensure energy efficiency and proper ventilation.