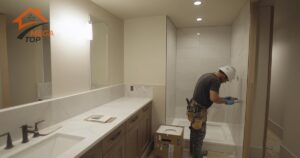
Why Convert Your Tub to a Shower?
Replacing a bathtub with a shower is a practical way to modernize your bathroom while saving space and water. It’s also a budget-friendly project if approached strategically.
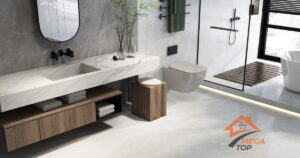
Benefits of a Shower Over a Bathtub
- Showers use less water, reducing utility bills.
- They provide easier accessibility for people with mobility issues.
- Showers create a sleek, modern look in bathrooms.
When a Tub-to-Shower Conversion is Ideal
- When the tub is rarely used.
- In smaller bathrooms where space is at a premium.
Tools and Materials for a Budget Conversion
Having the right tools and materials can streamline the conversion process and keep costs low.
List of Essential Tools for DIY
- Crowbar or reciprocating saw (for tub removal)
- Caulking gun and silicone sealant
- Drill and screws for mounting fixtures
- Utility knife and scraper
- Level and measuring tape
Cost-Effective Materials to Consider
- Pre-fabricated shower kits
- Adhesive shower wall panels
- Basic plumbing tools (pipe wrench, Teflon tape)
Affordable Ways to Remove a Bathtub
Removing the existing tub is the first step in the conversion. Choosing a DIY approach or hiring help will impact your costs.
DIY Tub Removal
- Turn off the water supply to the bathroom.
- Disconnect the plumbing (drain and faucet connections).
- Break the tub into smaller pieces using a reciprocating saw or sledgehammer for easier removal.
- Dispose of the tub at a local waste facility to save on removal fees.
Tools Needed for a Smooth Process
- Safety gear (goggles, gloves)
- Reciprocating saw or pry bar
- Tarp to collect debris
Hiring a Professional for Tub Removal
- Professional tub removal typically costs $300–$600.
- Negotiate for lower rates by combining removal with other bathroom services.
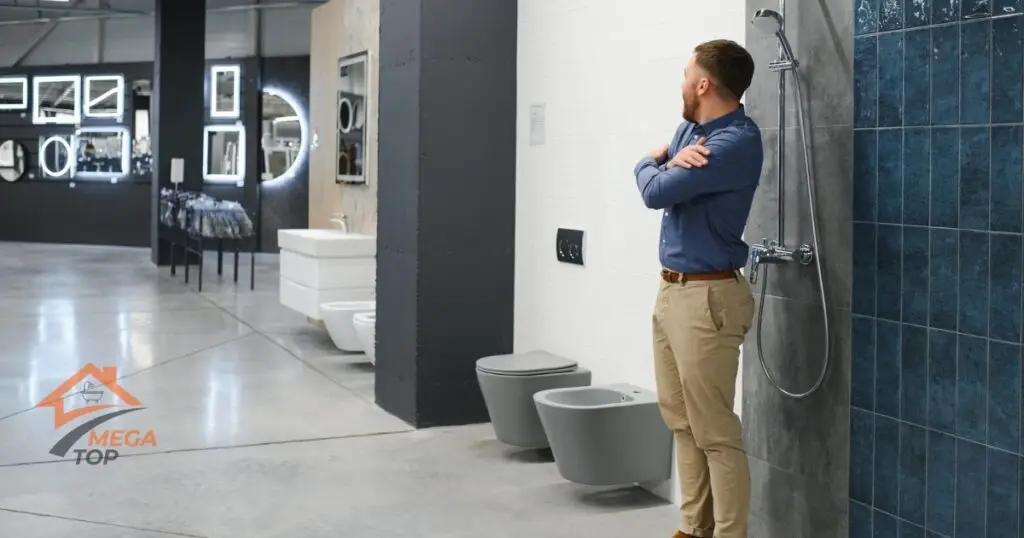
Choosing a Budget-Friendly Shower Solution
The right shower solution balances cost, durability, and style.
Pre-Fabricated Shower Kits
- Cost: $200–$800 depending on size and style.
- Advantages: Easy to install, includes walls and base, and often requires minimal customization.
- Disadvantages: Limited design options compared to custom installations.
Shower Wall Panels vs. Tiles
- Wall Panels: Starting at $100, they’re affordable, waterproof, and easy to clean.
- Tiles: Offer a more upscale look but cost significantly more and require professional installation unless you’re experienced.
Plumbing Adjustments: Save Money by Keeping it Simple
Avoiding major plumbing changes is one of the best ways to cut costs.
Why Keeping Plumbing in Place Reduces Costs
- Relocating plumbing fixtures can cost $500–$1,000 or more.
- Utilizing existing plumbing avoids the need for a licensed plumber.
DIY Fixes for Minor Plumbing Changes
- Replace old faucet fixtures with a showerhead.
- Use pipe extensions or adapters to adjust height.
Installing the Shower Base on a Budget
The shower base is a crucial part of the installation, and affordable options are readily available.
Inexpensive Base Options: Pre-Made vs Custom
- Pre-Made Bases: Start at $150 and are designed for easy installation.
- Custom Bases: Offer a tailored fit but can cost more.
DIY Installation Tips for Securing the Base
- Level the subfloor before installation.
- Apply a layer of mortar or adhesive to hold the base securely.
- Check for level placement using a spirit level.
Adding Shower Walls for a Seamless Look
Installing shower walls completes the transformation and enhances durability.
How to Install Adhesive Shower Wall Panels
- Measure and cut panels to fit your shower space.
- Apply adhesive evenly to the back of each panel.
- Press panels onto the wall, starting from one corner and working out.
- Seal the edges with silicone caulk.
Cost-Saving Tips for Tiling Small Areas
- Tile only high-visibility areas like the backsplash.
- Use inexpensive tiles, and install them yourself to save on labor costs.
Budget-Friendly Shower Fixtures and Accessories
Choosing affordable fixtures and accessories can enhance functionality without inflating costs.
Choosing Cost-Effective Fixtures
- Opt for adjustable showerheads, starting at $20.
- Look for sales or second-hand options for controls and valves.
DIY Shower Shelves and Accessories
- Use stick-on shelves for a simple and affordable storage solution.
- Consider shower curtains instead of costly glass doors.
Sealing and Waterproofing Tips for Durability
Proper waterproofing prevents costly water damage in the future.
Budget-Friendly Waterproofing Solutions
- Use waterproof membranes or adhesive liners behind panels.
- Apply multiple layers of waterproof sealant to edges and joints.
How to Ensure a Watertight Seal on a Budget
- Focus on sealing around the shower base and corners.
- Inspect all seams and reapply caulk as needed.
Comparing DIY vs Professional Tub-to-Shower Conversion
Understanding the cost difference between DIY and professional installation helps in decision-making.
Average Costs of DIY vs Hiring Professionals
- DIY Costs: $500–$1,500, depending on materials and tools.
- Professional Costs: $3,000–$7,000, including labor and materials.
Risks and Rewards of Doing It Yourself
- Rewards: Significant savings, control over the process, and a sense of accomplishment.
- Risks: Potential for errors that may require professional correction.
By following these tips, you can replace your tub with a shower affordably, transforming your bathroom into a functional and modern space. Ready to begin your budget-friendly remodel? Gather your tools and start today!
FAQ
Using a pre-fabricated shower kit is one of the most affordable options for a tub-to-shower conversion.
Not always. If plumbing adjustments are minimal, a DIY approach can save you money.
A basic conversion can cost between $500 and $1,500, depending on materials and tools used.
Yes, shower wall panels are generally more affordable and easier to install compared to tiles.
Yes, reusing existing plumbing minimizes costs and simplifies the process.