Understanding Bathroom Countertop Installation
Attaching a bathroom countertop involves securing it to the vanity base and ensuring it fits properly with sinks and plumbing fixtures. It’s a straightforward process that can be completed with basic tools and careful measurements.
Common Reasons for Installing a New Bathroom Countertop
- Outdated Style: Many homeowners replace countertops to update the look of their bathroom with modern materials.
- Damage: Countertops with cracks, chips, or water damage often need to be replaced.
- Increase Home Value: Installing a new countertop can enhance the overall value of your home, making it more attractive to potential buyers.
- Improved Functionality: A new countertop with more durable material can offer better longevity and usability.
Steps to Attach a Bathroom Countertop
1. Preparing for Installation
Before you attach the new countertop, gather all the necessary tools and ensure the area is properly prepped.
- Measure the Space: Measure the vanity to make sure the countertop will fit correctly.
- Choose the Right Materials: Select the countertop material (e.g., granite, quartz, laminate) based on style and durability.
- Gather Tools: You’ll need a drill, screws, adhesive, caulking gun, and level.
2. Removing the Old Countertop
If you are replacing an old countertop, follow these steps to safely remove it before installing the new one.
- Turn Off Water Supply: Disconnect the plumbing to prevent any leaks during the removal process.
- Remove the Sink: Detach the sink if it’s integrated with the old countertop.
- Loosen the Countertop: Use a utility knife to cut through any caulking or adhesive securing the old countertop to the vanity.
- Lift the Countertop: Carefully lift and remove the old countertop, ensuring not to damage the vanity below.
3. Installing the New Countertop
Once the old countertop is removed, you can install the new one by following these steps.
Positioning the Countertop
- Dry Fit: Place the new countertop on the vanity to ensure it fits properly and aligns with the sink and plumbing.
- Make Adjustments: If necessary, make small adjustments to ensure a snug fit around the edges and corners.
- Cut Holes for Plumbing: If your countertop requires cutouts for sinks or faucets, use a jigsaw to create openings where needed.
Securing the Countertop
- Apply Adhesive: Apply a strong adhesive or silicone caulk along the top edge of the vanity base.
- Position the Countertop: Carefully place the countertop on top of the vanity, pressing it down to secure it to the adhesive.
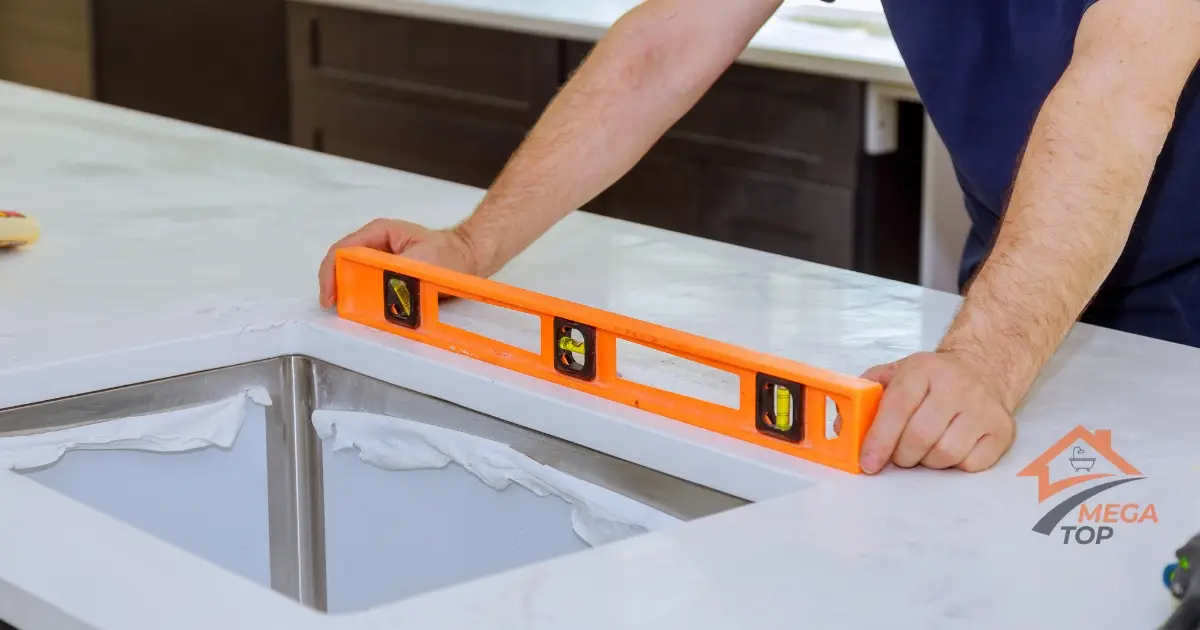
- Check for Level: Use a level to ensure the countertop sits evenly. Adjust as necessary before the adhesive sets.
- Screw into Place: Secure the countertop from underneath by screwing it into place using brackets or clips if recommended by the manufacturer.
Attaching the Sink
- Position the Sink: Insert the sink into the pre-cut hole or place it under the countertop if it’s an undermount sink.
- Seal the Edges: Apply silicone caulk around the sink edges to create a watertight seal.
- Reconnect Plumbing: Reconnect the water supply and drainage pipes to the sink.
Final Steps and Maintenance Tips
Sealing the Countertop
- Seal the Edges: Use silicone caulk to seal the countertop edges where it meets the wall or backsplash.
- Let it Set: Allow the adhesive and caulk to dry completely before using the sink or placing heavy items on the countertop.
Regular Maintenance
- Clean Regularly: Clean the countertop with non-abrasive cleaners to maintain its appearance and prevent damage.
- Check Seals: Periodically check the caulking and adhesive to ensure everything remains secure and watertight.


