Why Proper Sealing is Essential for a Bath
Sealing a bathtub is a critical step in maintaining a functional and long-lasting bathroom. A properly sealed bath prevents water from seeping into walls and floors, which can cause structural damage and mold growth.
Importance of Sealing to Prevent Leaks
- Keeps water contained within the tub area.
- Protects surrounding materials like tile and drywall from water damage.
How Proper Caulking Extends Bath Lifespan
- Prevents wear and tear caused by moisture exposure.
- Enhances the aesthetic appeal by hiding gaps and cracks.
Types of Caulk for Bathroom Sealing
Not all caulks are suitable for bathrooms. Here’s an overview of the best types for sealing baths.
Silicone Caulk
Silicone caulk is the most popular choice for bathrooms due to its superior waterproofing capabilities.
Benefits of Silicone for Waterproof Sealing
- 100% waterproof and resistant to humidity.
- Highly flexible, making it ideal for areas prone to movement.
When to Use 100% Silicone Caulk
- Around bathtubs, showers, and sinks.
- On non-porous surfaces like glass, metal, or ceramic tiles.
Acrylic Latex Caulk
Acrylic caulk is easier to apply and clean up than silicone but less durable.
Pros and Cons of Acrylic Caulk for Baths
- Pros: Paintable, quick-drying, and user-friendly.
- Cons: Not as waterproof or flexible as silicone.
Best Situations for Using Acrylic-Based Caulks
- Low-moisture areas or decorative sealing.
- When a paintable finish is needed.
Hybrid Sealants
Hybrid sealants combine the benefits of silicone and acrylic for versatile use.
Why They’re Ideal for Certain Applications
- Offer moderate waterproofing and flexibility.
- Easier to work with than pure silicone.
Features to Look for in Bathroom Caulk
Selecting the right caulk ensures durability and performance in wet environments.
Waterproofing Capabilities
- Ensure the caulk is labeled as waterproof or moisture-resistant.
Anti-Mold and Mildew Properties
- Choose caulks with added fungicides to prevent discoloration and odors.
Durability and Flexibility
- Flexible caulks can withstand expansion and contraction without cracking.
Step-by-Step Guide to Sealing a Bath
Follow these steps to achieve a professional-quality seal for your bathtub.
Tools and Materials Needed
- Tools: Caulking gun, utility knife, scraper, sponge.
- Materials: Bathroom caulk (silicone or hybrid), masking tape, rubbing alcohol.
Preparing the Bath Area
- Remove Old Caulk: Use a utility knife or scraper to clean away old caulk and debris.
- Clean the Surface: Wipe the area with rubbing alcohol to remove residue and ensure good adhesion.
- Dry Thoroughly: Ensure the area is completely dry before applying new caulk.
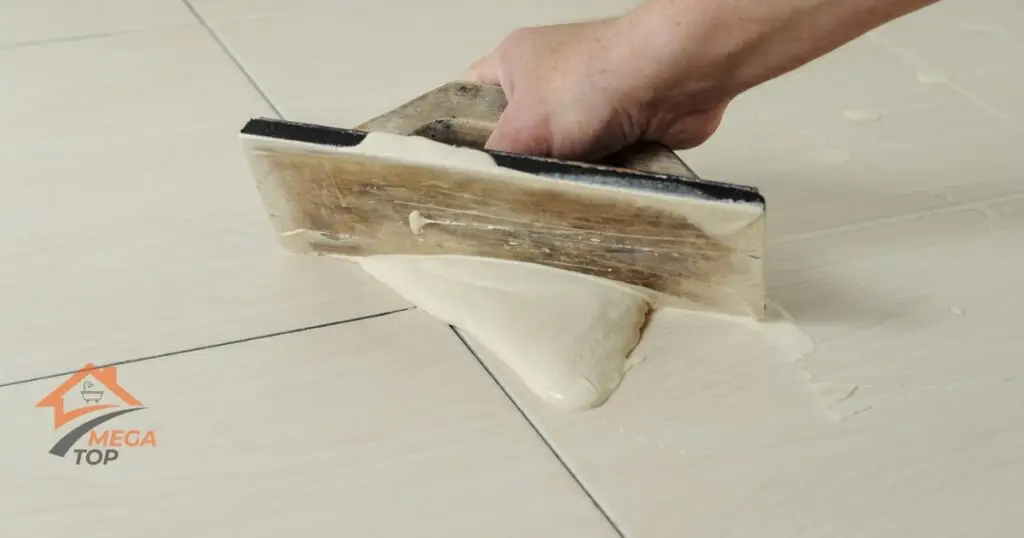
Applying the Caulk
- Load the Caulking Gun: Cut the nozzle of the caulk tube at a 45-degree angle and insert it into the gun.
- Apply a Bead of Caulk: Run a continuous bead along the edge of the bathtub, maintaining steady pressure.
- Smooth the Caulk: Use a damp finger or caulking tool to smooth the bead for a clean, professional finish.
- Remove Excess Caulk: Wipe away any excess with a damp cloth before it dries.
Tips for Maintaining a Long-Lasting Seal
Regular maintenance can help your bath seal last longer and stay effective.
How to Inspect and Reapply Caulk as Needed
- Check for cracks, gaps, or discoloration every six months.
- Reapply caulk as soon as signs of wear appear to prevent water damage.
Cleaning Methods to Prevent Mold and Mildew
- Use a mild bleach solution or anti-mold cleaner to clean caulk lines regularly.
- Ensure proper ventilation in the bathroom to reduce humidity.
Comparing DIY and Professional Bath Sealing
Deciding between DIY and professional help depends on your budget and skill level.
Average Costs for DIY Sealing
- DIY sealing typically costs $10–$30 for materials.
When to Hire a Professional for Better Results
- If the bathtub area has structural issues or extensive old caulk removal is required.
- Professionals charge $100–$300 for sealing services.
By choosing the right caulk and following proper sealing techniques, you can protect your bathtub and surrounding areas from water damage. Ready to seal your bath like a pro? Gather your tools and get started today!
FAQ
Silicone caulk is the most reliable option due to its waterproof and flexible properties.
Typically every 1–2 years, or when you notice cracks or peeling.
No, always use caulk designed for wet environments to ensure durability.
Most bathroom caulks dry within 24 hours, but curing times may vary.
Silicone is fully waterproof and flexible, while acrylic is easier to apply but less durable.