What is Bathroom Waterproofing and Why is it Important?
Bathroom waterproofing involves creating a barrier to protect walls, floors, and fixtures from moisture damage. It ensures your bathroom remains leak-free and prevents mold, mildew, and structural issues caused by water infiltration.
Benefits of Waterproofing Your Own Bathroom
- Cost Savings: DIY waterproofing can save you hundreds in labor costs.
- Customization: Tailor the process to suit your bathroom’s specific needs.
- Skill Development: Gain valuable home improvement skills for future projects.
Can You Waterproof Your Bathroom Yourself?
With the right tools, materials, and guidance, waterproofing your bathroom can be a manageable DIY project.
DIY vs Professional Waterproofing
- When DIY is Viable: Small bathrooms or straightforward layouts are ideal for DIY.
- When to Call a Professional: Complex layouts, existing leaks, or extensive renovations may require expert help.
Cost Comparison of DIY vs Professional Waterproofing
- DIY Costs: $100–$500 for materials such as membranes, caulk, and sealants.
- Professional Costs: $1,000–$5,000, depending on the size and complexity of the bathroom.
Tools and Materials Needed for DIY Bathroom Waterproofing
Essential Materials
- Waterproof Membrane: Liquid or sheet membranes for walls and floors.
- Silicone Caulk: For sealing edges, joints, and around fixtures.
- Grout Sealant: To protect tiled areas from moisture penetration.
Tools Required
- Trowel, brush, or roller for membrane application.
- Utility knife and scissors for cutting sheet membranes.
- Cleaning supplies for surface preparation.
Step-by-Step Guide to DIY Bathroom Waterproofing
Preparing the Bathroom Surface
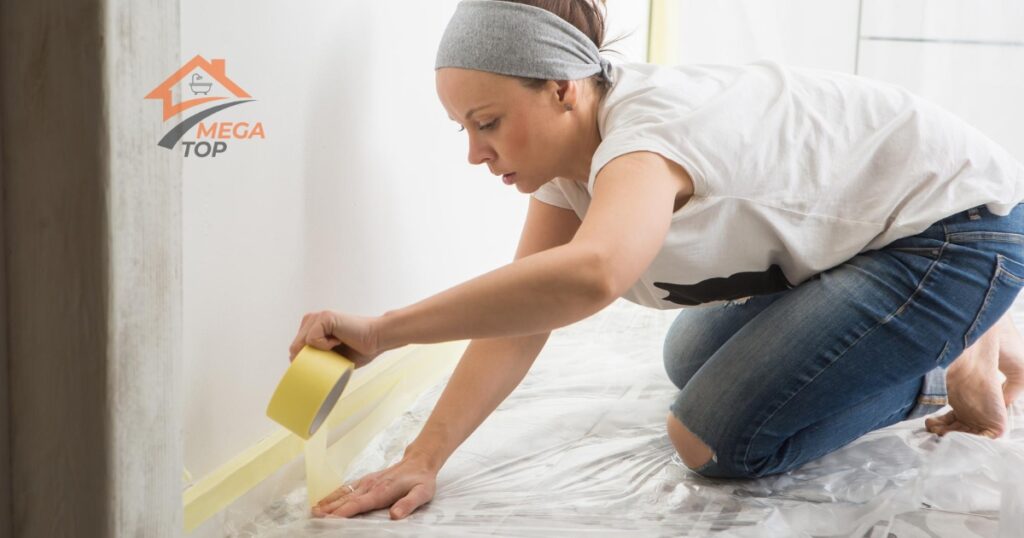
- Clean Thoroughly: Remove dirt, grease, and soap residue from walls and floors.
- Repair Damage: Patch any cracks or holes with waterproof filler.
- Prime the Surface: Apply a primer to enhance adhesion of the waterproofing material.
Applying the Waterproofing Membrane
- Liquid Membrane:
- Use a roller or brush to apply an even coat.
- Allow the first layer to dry before applying a second coat.
- Sheet Membrane:
- Cut the membrane to size and press it firmly onto the surface.
- Overlap seams by a few inches and seal them with adhesive or tape.
Sealing Joints, Edges, and Fixtures
- Corners and Edges:
- Apply silicone caulk where walls meet floors and in corners.
- Around Fixtures:
- Seal around plumbing pipes, drains, and other fixtures with caulk or tape.
Common Mistakes to Avoid When Waterproofing Your Bathroom
- Skipping Surface Preparation: Poor adhesion leads to leaks. Always clean and prime surfaces.
- Inconsistent Application: Uneven layers of membrane can result in weak spots. Apply evenly across all areas.
- Ignoring Drying Times: Allow each layer to dry fully before proceeding to ensure a durable seal.
Maintaining a Waterproof Bathroom
Regular maintenance ensures your waterproofing efforts last for years.
How to Inspect for Leaks Regularly
- Look for water stains or damp spots near walls and floors.
- Check caulking and grout lines for cracks or gaps.
Reapplying Sealants
- Reapply grout sealant every 1–2 years for tiled areas.
- Touch up silicone caulk in high-moisture zones as needed.
By following these steps and tips, you can waterproof your bathroom effectively and confidently. Ready to protect your bathroom from moisture damage? Gather your materials and start your DIY waterproofing project today!
FAQ
Yes, with proper tools and materials, DIY waterproofing is both achievable and cost-effective.
Absolutely. Tiles and grout are not waterproof, so a membrane is crucial to prevent water damage.
DIY waterproofing typically costs between $100 and $500, depending on materials and bathroom size.
Liquid membranes are easy to apply and effective, while silicone caulk is ideal for sealing joints.
The process takes 1–3 days, including drying time between layers of waterproofing material.


