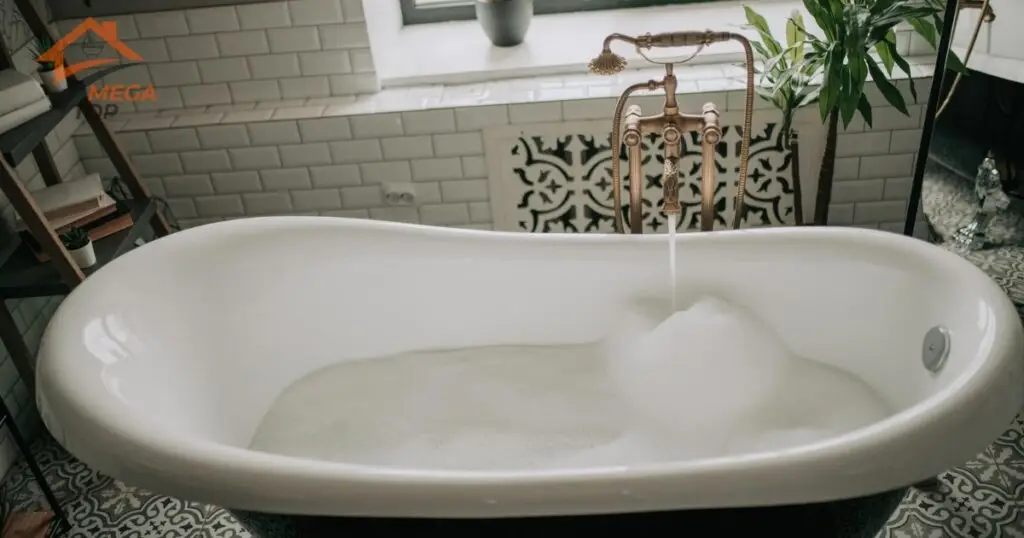
Why Restore Your Old Bathtub?
Restoring an old bathtub can breathe new life into your bathroom without the high cost and hassle of replacement. Whether your tub is discolored, scratched, or stained, several restoration techniques can make it look new again.
Benefits of Bathtub Restoration
- Cost Savings: Reglazing a bathtub is significantly cheaper than buying and installing a new tub.
- Eco-Friendly: Restoring a tub reduces waste by keeping old materials out of landfills.
- Quick Results: Restoration can typically be completed in a day or two, unlike lengthy renovations.
Signs Your Tub Needs Reglazing
- Discoloration: Yellowing or stains that can’t be removed with regular cleaning.
- Chips and Cracks: Visible damage to the surface that affects appearance and usability.
- Dull Finish: Loss of shine or uneven texture on the tub surface.
Steps to Make an Old Bathtub Look New Again
Restoring a bathtub requires careful preparation and the right tools. Here are the steps to achieve a like-new finish.
Thorough Cleaning
Start by removing all dirt, stains, and buildup from the tub’s surface.
- Products to Use: Mild abrasives, vinegar, baking soda, or commercial tub cleaners.
- Methods:
- Scrub with a non-abrasive pad for surface stains.
- Remove rust stains with a paste of baking soda and hydrogen peroxide.
- Rinse thoroughly to ensure no residue remains.
Repairing Chips and Cracks
Fixing surface damage is essential for a smooth reglazing process.
- Materials Needed:
- Epoxy repair kits for chips and cracks.
- Sandpaper to smooth out patched areas.
- Steps:
- Clean the damaged area.
- Apply the epoxy filler and let it cure.
- Sand the area until smooth.
Reglazing a Bathtub
Reglazing, or refinishing, is the most effective way to restore an old tub’s appearance.
- Steps in the Reglazing Process:
- Preparation: Sand the tub to remove the old finish and create a surface the new glaze can adhere to.
- Application: Apply primer and several coats of refinishing paint or glaze.
- Curing: Allow the finish to cure for 24-72 hours before use.
- Professional Reglazing Benefits:
- Even application and a long-lasting finish.
- Proper ventilation to handle fumes and ensure safety.
DIY vs. Professional Bathtub Restoration
Both DIY and professional methods have their merits, depending on your budget and desired outcome.
DIY Reglazing: Pros and Cons
- Pros:
- Cost-effective; DIY kits are available for $50-$100.
- Convenient for minor touch-ups.
- Cons:
- Results may lack the smoothness of professional work.
- Requires careful preparation and time for proper application.
Professional Services
Hiring a professional ensures better results for more extensive restoration needs.
- Cost: Typically ranges from $300 to $600.
- Advantages:
- Durable, polished finish.
- Proper handling of materials and equipment.
Maintenance Tips for a Newly Restored Bathtub
After restoration, following proper maintenance practices is essential to prolong the tub’s lifespan.
Gentle Cleaning Practices
- Use non-abrasive cleaners like dish soap or mild tub cleaners.
- Avoid harsh chemicals, bleach, or abrasive pads that can scratch the surface.
Preventing Future Damage
- Place a rubber mat or bath mat to avoid scratches from dropped items.
- Avoid placing heavy objects on the tub edge.
Additional Options for Bathtub Makeovers
If reglazing isn’t the best fit, consider other ways to refresh your bathtub.
Installing a Bathtub Liner
A bathtub liner is a custom-fitted covering placed over the existing tub.
- Pros: Quick installation and no demolition.
- Cons: Can be more expensive than reglazing and may trap moisture.
Repainting Your Bathtub
Repainting with specialized tub paints can also improve appearance but requires meticulous preparation for lasting results.
Accessorizing for a New Look
- Install new fixtures like faucets or showerheads.
- Add a stylish curtain or bath mat to complement the tub’s new finish.
Transform your old bathtub into a stunning centerpiece with reglazing or other restoration techniques. Contact a professional today to ensure a flawless finish that lasts!
FAQ
Professional reglazing typically lasts 10-15 years if properly maintained.
Yes, DIY kits are available, but professional results are smoother and more durable.
DIY kits cost $50-$100, while professional reglazing ranges from $300 to $600.
Non-abrasive cleaners like dish soap or vinegar-based solutions are recommended.
Reglazing works well for surface-level issues. For structural damage, replacement might be a better option.


