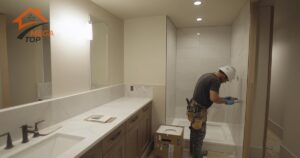
The Importance of Shower Waterproofing
Waterproofing a shower wall is critical to maintaining the longevity of your bathroom. Without it, water can seep into the walls, leading to structural damage, mold growth, and costly repairs. Fortunately, there are budget-friendly ways to waterproof your shower effectively.
Why Waterproofing Is Essential
Waterproofing your shower walls creates a barrier that prevents water from penetrating the underlying structures. This helps:
- Prevent Water Damage: Protects drywall, studs, and other materials from deterioration.
- Avoid Mold Growth: Keeps moisture out, reducing the risk of health issues caused by mold.
- Extend Wall Durability: Waterproofing safeguards your investment and avoids frequent renovations.
Risks of Inadequate Waterproofing
Failing to waterproof your shower can lead to:
- Costly Repairs: Damage to walls, flooring, and ceilings below the bathroom.
- Health Hazards: Mold spores thrive in damp conditions, affecting air quality.
- Tile Adhesion Problems: Poor waterproofing can cause tiles to crack or detach over time.
Cheapest Ways to Waterproof a Shower Wall
If you’re on a budget, these affordable methods can help you achieve effective shower waterproofing.
1. Using Waterproof Paint
Waterproof paint is one of the simplest and cheapest ways to waterproof your shower walls.
Types of Waterproof Paint:
- Epoxy-based paints for high durability.
- Acrylic waterproof paints for easy application.
How to Apply Waterproof Paint:
- Clean the surface thoroughly.
- Apply a primer to ensure adhesion.
- Use a roller or brush to evenly coat the walls with waterproof paint.
2. Applying Liquid Waterproof Membrane
Liquid membranes are cost-effective and versatile for waterproofing.
Benefits:
- Creates a seamless waterproof layer.
- Works well under tiles.
Affordable Brands:
- RedGard
- AquaDefense
DIY Tips:
- Use a paintbrush for corners and a roller for flat surfaces.
- Allow multiple layers to dry thoroughly for optimal protection.
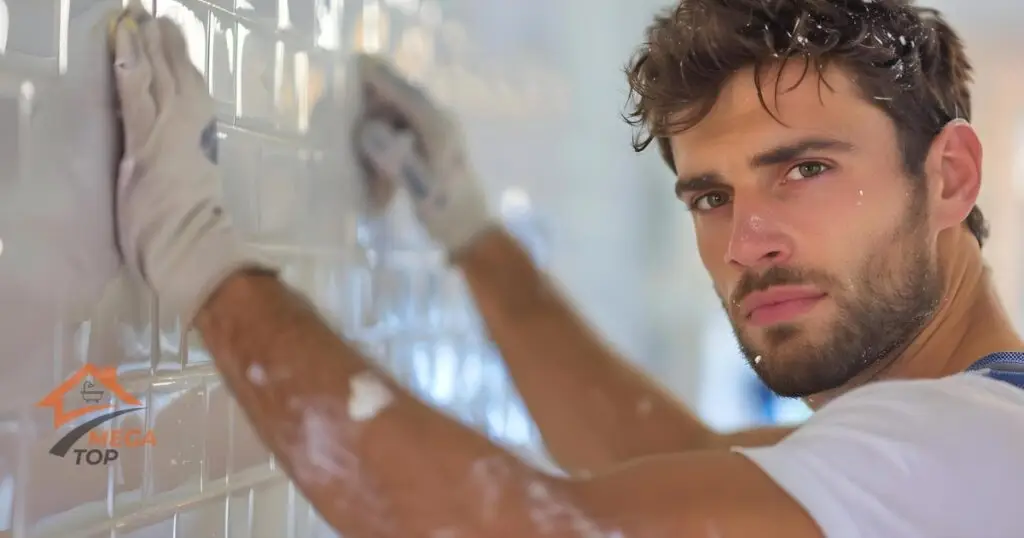
3. Sealing Grout Lines
Grout is often a weak point in shower waterproofing.
Why Seal Grout?
Grout is porous and can absorb water, leading to leaks.Affordable Grout Sealers:
- Miracle Sealants 511
- Aqua Mix Sealer’s Choice Gold
DIY Guide:
- Clean grout with a mild cleaner.
- Apply sealer with a small brush or applicator.
- Wipe off excess sealer with a damp cloth.
4. Installing Waterproof Wall Panels
Wall panels are a durable and inexpensive solution.
Budget-Friendly Materials:
- PVC panels
- Acrylic sheets
Installation Tips:
- Measure the walls accurately.
- Use adhesive to attach panels and seal edges with silicone caulk.
5. Waterproofing with Plastic Sheets
Plastic sheets, like polyethylene, are a low-cost option for creating a waterproof barrier.
Pros and Cons:
- Pros: Inexpensive, easy to cut and fit.
- Cons: Less durable compared to membranes or panels.
DIY Steps:
- Cut sheets to fit the shower walls.
- Attach sheets with staples or adhesive.
- Seal edges and seams with waterproof tape.
6. Using Peel-and-Stick Waterproof Membranes
Peel-and-stick membranes are convenient and budget-friendly.
Where to Find Them:
Available at most home improvement stores.Application Tips:
- Clean and dry the wall surface.
- Peel off the backing and press the membrane onto the wall.
- Smooth out bubbles with a flat edge.
7. Regrouting and Resurfacing Tiles
Regrouting is a cost-effective way to address small leaks in tiled showers.
Low-Cost Solutions:
- Use premixed grout for quick fixes.
- Opt for grout pens for surface-level sealing.
Best Practices:
- Remove old grout with a grout removal tool.
- Apply new grout and smooth it with a grout float.
Comparing DIY vs. Professional Waterproofing
Pros and Cons of DIY Waterproofing
Pros:
- Significant cost savings.
- Flexibility to work at your own pace.
Cons:
- Requires specific tools and skills.
- Mistakes can lead to expensive repairs later.
Benefits of Hiring Professionals
Hiring experts ensures long-lasting results, especially for complex jobs.
- Expertise: Professionals identify problem areas and use high-quality materials.
- Time-Saving: They complete the job efficiently without delays.
Case Studies: DIY Fails vs. Professional Fixes
- DIY Example: A homeowner applied waterproof paint but neglected to seal grout, resulting in leaks.
- Professional Fix: Contractors installed a liquid membrane and regrouted, ensuring complete waterproofing.
By using these affordable waterproofing methods, you can protect your shower walls and save money in the long run. Need professional advice or help with your waterproofing project? Contact a licensed contractor today!
FAQ
Using waterproof paint is a cost-effective option that’s easy to apply.
It’s recommended to seal shower grout every 1-2 years to maintain effectiveness.
Yes, most panels are designed for easy DIY installation with basic tools.
Yes, it’s an excellent choice to apply under tiles for added protection.
Professionals ensure long-lasting results, saving you money on future repairs.