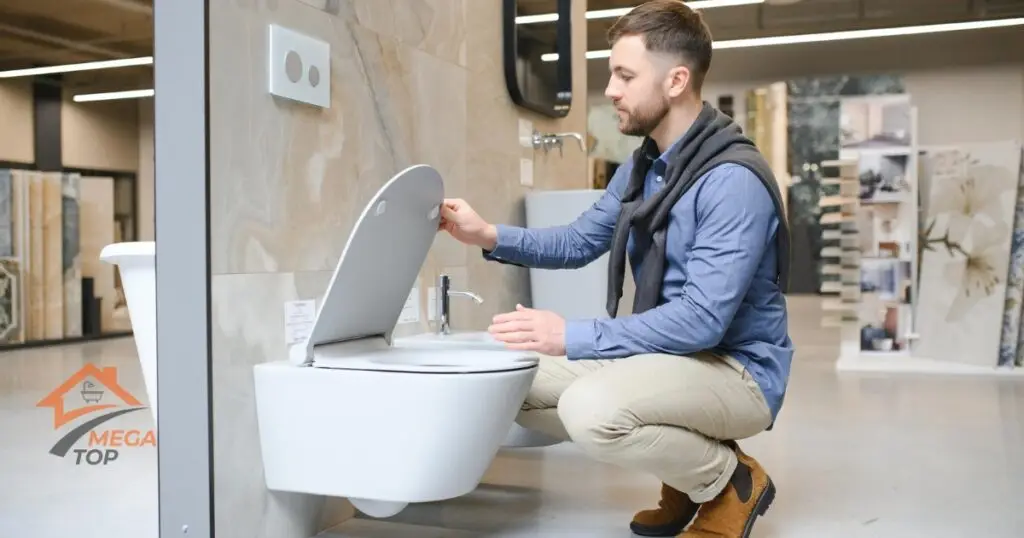
Is Toilet Installation a DIY-Friendly Task?
Installing a toilet can seem daunting, but with the right tools and preparation, it’s a task most average homeowners can handle. While some plumbing experience is helpful, many people find toilet installation to be a manageable DIY project.
Understanding the Basics of Toilet Installation
Toilet installation involves several straightforward steps:
- Removing the old toilet.
- Preparing the area, including the flange and seal.
- Placing and securing the new toilet.
It’s often considered beginner-friendly because it doesn’t require extensive plumbing modifications.
Key Factors to Consider Before Starting
- Skill Level: Basic familiarity with tools and plumbing is helpful.
- Time Commitment: Expect to spend 1-2 hours for a standard replacement.
- Tools Required: A few basic tools are needed, which most homeowners already have.
Tools and Materials Needed for DIY Toilet Installation
Before starting, gather all the necessary tools and materials to streamline the process.
Essential Tools
- Adjustable Wrench: For loosening and tightening bolts.
- Screwdriver: For removing screws and securing the tank lid.
- Plumber’s Tape: Ensures tight, leak-free connections.
- Bucket and Sponge: Used to drain remaining water from the old toilet.
Additional Materials
- Wax Ring: Creates a watertight seal between the toilet and flange.
- Replacement Bolts: Ensures a secure fit for the new toilet.
- Toilet Flange: A new flange may be needed if the old one is damaged.
Step-by-Step Guide to Installing a Toilet
Here’s a clear guide to help you complete the installation process.
Step 1: Removing the Old Toilet
- Turn Off the Water Supply: Locate the valve behind the toilet and shut it off.
- Drain the Toilet: Flush to remove most water, then use a sponge to absorb the rest.
- Disconnect the Supply Line: Unscrew the water supply line from the tank.
- Remove the Bolts: Use a wrench to loosen the nuts securing the toilet to the floor.
- Lift and Remove the Old Toilet: Carefully lift the toilet and set it aside.
Step 2: Preparing the Area
- Inspect the Flange: Check for cracks or damage. Replace if necessary.
- Clean the Surface: Remove any old wax or debris to ensure a proper seal.
- Position the Wax Ring: Place it on the flange or the base of the toilet.
Step 3: Installing the New Toilet
- Place the Toilet: Align the toilet over the flange and press down gently to secure the wax ring.
- Secure the Bolts: Tighten the bolts evenly to avoid cracking the toilet base.
- Reconnect the Water Supply Line: Attach the line to the tank inlet and hand-tighten it.
Step 4: Testing for Leaks
- Turn On the Water Supply: Open the valve and let the tank fill.
- Flush the Toilet: Check for leaks around the base and connections.
- Tighten Connections If Needed: Ensure everything is secure and watertight.
Common Challenges and How to Overcome Them
Even simple DIY projects can come with challenges. Here’s how to tackle common issues during toilet installation:
Flange Issues
- Problem: The flange is damaged or misaligned.
- Solution: Replace the flange or use a repair ring to fix alignment.
Uneven Floor Surfaces
- Problem: The toilet rocks or isn’t stable.
- Solution: Use plastic shims to level the base and stabilize the toilet.
Leaks After Installation
- Problem: Water pools around the base or supply line.
- Solution: Re-tighten bolts, adjust connections, or reseat the wax ring.
When to Call a Professional for Toilet Installation
While many people can install a toilet themselves, some situations require professional expertise.
Complex Plumbing Situations
- Relocating the Toilet: Moving the drain line or water supply requires advanced plumbing skills.
- Severe Flange Damage: Extensive repairs may need specialized tools and experience.
Benefits of Hiring a Professional
- Guaranteed proper installation.
- Saves time and eliminates the risk of costly mistakes.
- Professionals often provide warranties for their work.
Tips for Maintaining a Newly Installed Toilet
Once your toilet is installed, proper care will ensure it lasts for years without issues.
Proper Usage
- Avoid flushing non-flushable items like wipes or feminine products.
- Use minimal toilet paper to prevent clogs.
Routine Maintenance
- Inspect bolts and seals for wear every 6-12 months.
- Check the water supply line for leaks.
- Clean the tank and bowl regularly to prevent mineral buildup.
Installing a toilet can be a straightforward DIY project for the average person with the right preparation and tools. If you’re unsure or facing complex plumbing issues, contact a professional for a hassle-free experience!
FAQ
Yes, most beginners can install a toilet with basic tools and a clear guide.
On average, it takes 1-2 hours for a standard installation.
Common tools include an adjustable wrench, screwdriver, plumber’s tape, and a bucket.
Improper installation can cause leaks, uneven placement, or damage to the flange.
Professional installation typically costs $150-$300, depending on the complexity of the job.


