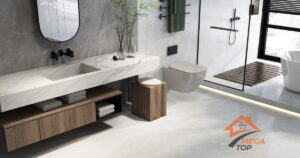
Why Choose a Built-In Bathtub?
A built-in bathtub offers both functionality and aesthetics, making it a popular choice for bathrooms. Designed to be enclosed on three sides, these tubs are ideal for saving space and creating a seamless look.
Advantages of Built-In Tubs Over Freestanding Models
- Space Efficiency: Perfect for compact bathrooms.
- Customizable Surrounds: Easily paired with tiles or panels for a personalized design.
- Integrated Plumbing: Concealed for a clean and professional appearance.
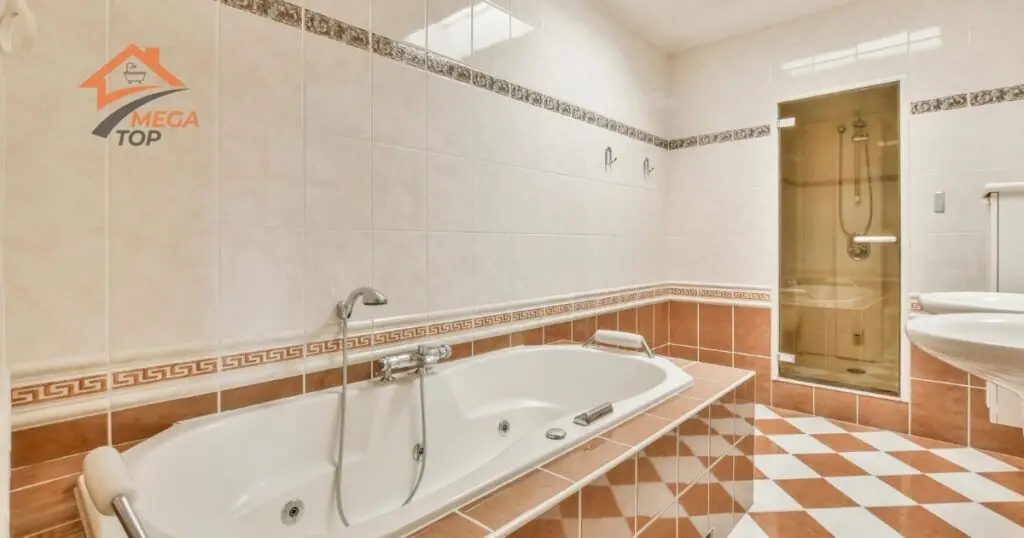
When and Where a Built-In Tub is Ideal
- In bathrooms where a tub-shower combo is needed.
- For creating a sleek, modern, or minimalist look.
Tools and Materials Needed for Bathtub Installation
Proper preparation ensures a smooth installation process.
Essential Tools for a Seamless Process
- Measuring tape
- Level
- Screwdriver and drill
- Reciprocating saw (if adjustments are needed)
- Caulking gun
Materials Checklist for a Built-In Tub
- Bathtub (drop-in or alcove style)
- Framing materials (pressure-treated wood or metal)
- Waterproof membrane or backer board
- Silicone caulk and plumber’s putty
- Drain assembly and overflow pipe
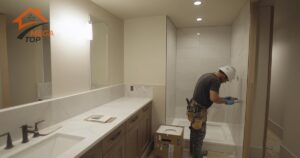
Preparing the Space for a Built-In Bathtub
Careful preparation is key to a durable and watertight installation.
Framing the Bathtub Area
- Measure the Tub: Determine the dimensions of your tub and mark them on the bathroom floor and walls.
- Build the Frame: Use pressure-treated wood or metal studs to construct a sturdy frame. Ensure the height and width match the tub’s specifications.
- Reinforce Corners: Add extra support at corners and under the tub base for stability.
Ensuring Proper Plumbing Setup
- Locate Plumbing Lines: Identify existing water and drain lines and ensure they align with the tub’s drain and overflow.
- Install or Adjust the Drain Assembly: Attach the drain to the tub and connect the overflow pipe. Test for proper fit and alignment.
Installing the Built-In Bathtub
The main installation involves positioning the tub, connecting plumbing, and securing it in place.
Positioning the Tub in the Frame
- Place the Tub: Carefully lower the tub into the frame, ensuring it fits snugly.
- Level the Tub: Use a level to check that the tub is perfectly horizontal. Adjust with shims if necessary to ensure proper drainage.
- Secure the Tub: Attach the tub to the frame using screws or brackets, as specified in the manufacturer’s instructions.
Connecting the Plumbing
- Attach the Drain Assembly: Use plumber’s putty to secure the drain flange and connect it to the drainpipe.
- Install the Overflow Pipe: Align and secure the overflow pipe to prevent leaks.
- Connect Water Lines: Attach hot and cold water lines to the faucet or tub filler.
Waterproofing and Sealing the Bathtub Area
Proper waterproofing prevents leaks and protects your bathroom from water damage.
How to Apply a Waterproof Membrane
- Install Backer Board: Cover the walls around the tub with a waterproof backer board.
- Apply Waterproof Membrane: Use a roll-on or sheet membrane to seal the area. Focus on corners and edges.
Sealing Gaps and Edges with Caulk
- Apply Caulk: Use silicone caulk around the tub edges and where the tub meets the walls.
- Smooth the Bead: Use a caulking tool or a damp finger to create a smooth, even seal.
Installing the Surround and Finishing Touches
Complete the installation by adding the tub surround and final details.
Adding Tile or Wall Panels
- Tile Installation: Lay tiles over the backer board using waterproof adhesive. Grout and seal for a polished look.
- Wall Panels: Install adhesive wall panels as a budget-friendly alternative to tiles.
Installing the Trim and Fixtures
- Attach Fixtures: Secure the faucet, handles, and spout. Ensure all connections are tight and leak-free.
- Add Trim: Install decorative trim or edging around the tub for a finished appearance.
Common Mistakes to Avoid During Bathtub Installation
Skipping the Leveling Step
- An unlevel tub can cause drainage issues and lead to standing water.
Incorrectly Aligning the Plumbing Fixtures
- Misaligned pipes can result in leaks and water damage. Double-check all connections before securing the tub.
Comparing DIY and Professional Bathtub Installation
Decide whether to install the tub yourself or hire a professional based on cost, time, and expertise.
Average Costs and Time Required for DIY
- Cost: $300–$1,000 for materials.
- Time: 1–2 days for most installations.
Benefits of Hiring a Professional for Complex Projects
- Expertise in handling plumbing adjustments.
- Ensures compliance with local building codes.
By following this guide, you can install a built-in bathtub confidently, whether you opt for a DIY approach or seek professional assistance. Ready to enhance your bathroom? Gather your tools and start today!
FAQ
Not always. With the right tools and preparation, DIY installation is manageable.
A DIY installation can take 1–2 days, while professionals may complete it in a few hours.
Pressure-treated wood or metal framing provides durability and resistance to moisture.
DIY installations range from $300–$1,000, while professionals may charge $1,500–$4,000.
Proper waterproofing and sealing of all edges and connections are essential.