INTRO
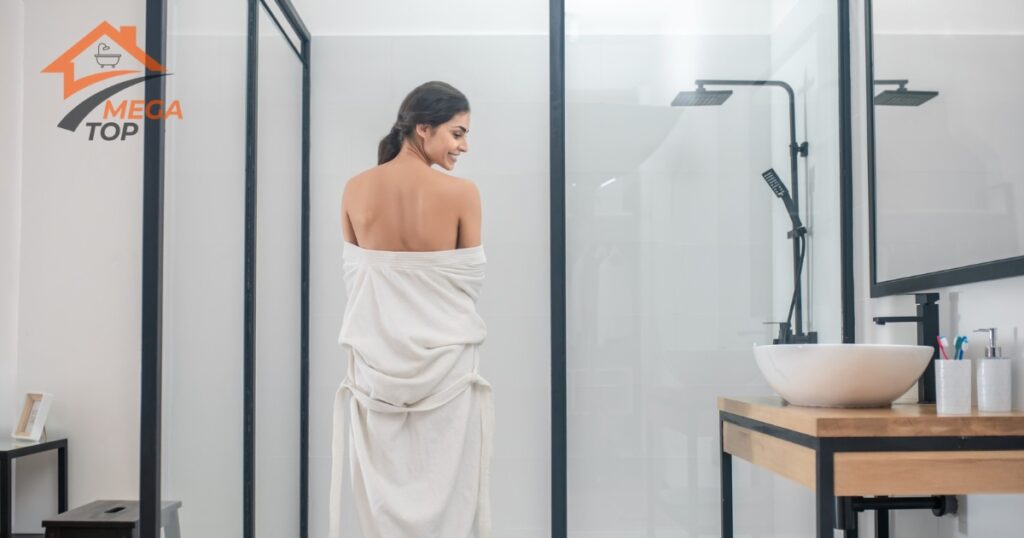
Thinking about replacing your bathtub with a walk-in shower? This upgrade can transform your bathroom into a modern, accessible, and space-efficient retreat. Whether you want a sleek, frameless glass enclosure or a curbless, barrier-free design, this guide will walk you through every step of the tub-to-shower conversion process.
Why Convert Your Tub into a Walk-In Shower?
Upgrading to a walk-in shower offers several benefits:
✔ More Accessibility – Ideal for seniors and people with mobility issues.
✔ Modern & Stylish – Walk-in showers create a sleek, open look.
✔ Space-Saving – A great solution for small bathrooms.
✔ Easier to Clean – No tub edges or shower curtains to maintain.
✔ Increases Home Value – Homes with modern bathrooms sell faster.
If you’re ready to remove your old tub and install a new, stylish shower, let’s dive into the step-by-step process!
Step 1: Planning Your Walk-In Shower Conversion
Before tearing out your tub, take time to plan your layout and design.
Measure Your Space
- Standard tubs are 60 inches long, meaning your new shower will fit in that footprint.
- For smaller bathrooms, consider a corner shower to save space.
Choose Your Shower Style
- Curbless Showers – Seamless floor design for easy entry.
- Frameless Glass Showers – A modern, open look.
- Barrier-Free Showers – Ideal for wheelchair accessibility.
💡 Pro Tip: Consider adding a niche or built-in shelf for easy storage!
Step 2: Selecting Materials & Features
Flooring Options
- Slip-resistant tiles – Safer for wet surfaces.
- Textured stone flooring – Adds traction and a high-end look.
- Shower pan vs. custom tile floor – Prefab pans are easier, while tile floors offer a custom finish.
Wall Materials & Enclosures
- Waterproof panels – Low-maintenance and budget-friendly.
- Ceramic & porcelain tiles – Classic and stylish.
- Glass enclosures – Frameless glass makes small bathrooms look larger.
Shower Fixtures & Accessories
- Rainfall showerheads & handheld sprayers for flexibility.
- Built-in benches for comfort and accessibility.
- Grab bars for extra stability and safety.
Step 3: Removing the Bathtub
- Turn off the water supply and remove the faucet.
- Cut through the caulking sealing the tub to the wall.
- Remove the surrounding wall panels or tiles.
- Detach and lift out the tub carefully to avoid plumbing damage.
- Dispose of the old tub properly or recycle materials where possible.
💡 Pro Tip: If you’re unsure about plumbing connections, MegaTop™ can handle the entire removal and installation process!
Step 4: Preparing the Area for a Walk-In Shower
With the tub removed, it’s time to prepare the space for your new shower.
✔ Check for mold, leaks, or plumbing issues before proceeding.
✔ Install proper waterproofing to prevent future damage.
✔ Adjust plumbing & drainage for a walk-in shower configuration.
Drainage Considerations
- Linear drain systems help with curbless designs.
- Sloped flooring ensures proper water flow and prevents puddling.
Step 5: Installing the Walk-In Shower Components
1. Install the Shower Pan or Custom Tile Base
- Prefabricated shower pans simplify installation.
- Custom tiled shower bases allow for unique designs.
2. Waterproof & Install Shower Walls
- Apply a waterproof membrane to prevent leaks.
- Install tile, acrylic panels, or stone for the shower walls.
3. Add Fixtures & Enclosures
- Secure showerheads and faucets in place.
- Install glass panels or half-walls for a clean, modern look.
- Attach built-in storage shelves or niches for convenience.
Step 6: Safety & Accessibility Considerations
Enhance your shower’s safety and usability with these features:
✔ Barrier-free entry for easy wheelchair access.
✔ Slip-resistant flooring to prevent falls.
✔ Grab bars & built-in seating for stability and comfort.
DIY vs. Professional Walk-In Shower Installation
DIY Installation
✔ Cost-effective for those with renovation experience.
✔ Good for minor upgrades like installing new fixtures.
❌ Risk of leaks & improper waterproofing.
❌ Plumbing mistakes can lead to costly repairs.
Why Choose MegaTop™ for Professional Installation?
✔ Expert removal & installation ensures a leak-proof shower.
✔ Custom design & material selection for a stylish finish.
✔ Safe, accessible designs for aging-in-place bathrooms.
💡 Pro Tip: A professional installation ensures long-lasting durability and prevents costly water damage.
Real Testimonials from Homeowners
⭐ “MegaTop™ transformed my outdated tub into a beautiful, modern walk-in shower!” — Minnie U., Madison, WI
⭐ “The accessibility upgrades make my shower so much easier to use!” — James T., Bentonville, AR
⭐ “Our new walk-in shower looks sleek, and we love the custom tile work!” — Anna P., Encinitas, CA
Did You Know?
“Did you know that walk-in showers can add up to 5% to your home’s resale value?”
TL;DR Summary
✔ Walk-in showers improve accessibility, style, and functionality.
✔ Careful planning ensures proper layout, materials, and drainage.
✔ Waterproofing is key to preventing leaks and damage.
✔ Accessibility features like grab bars & slip-resistant flooring enhance safety.
✔ MegaTop™ offers professional walk-in shower installation for a stress-free upgrade.
Ready to upgrade to a modern walk-in shower? Contact MegaTop™ today for expert installation and custom designs! 🚀
Get in Touch
Ready to transform your bathroom with a stunning new floor? Contact us today for a free estimate!
Fill out our online contact form 📧 or call by phone 📞 for a fast response.
We’re here to answer your questions, provide expert advice, and guide you through every step of the process. Call us, email us, or fill out our quick online form to get started. Let’s bring your vision to life!
FAQ
Most conversions take 2-5 days, depending on the complexity of the installation.
No! Many modern designs use glass panels or half-walls for an open look.
Yes! A corner or frameless glass walk-in shower can maximize space.
Costs range from $3,000 to $10,000, depending on materials, labor, and custom features.
MegaTop™ offers professional tub-to-shower conversions, ensuring a flawless and durable finish!


